An event bundles everything for one occasion: name, date, which boxes use it, the templates and the gallery.
Creating one
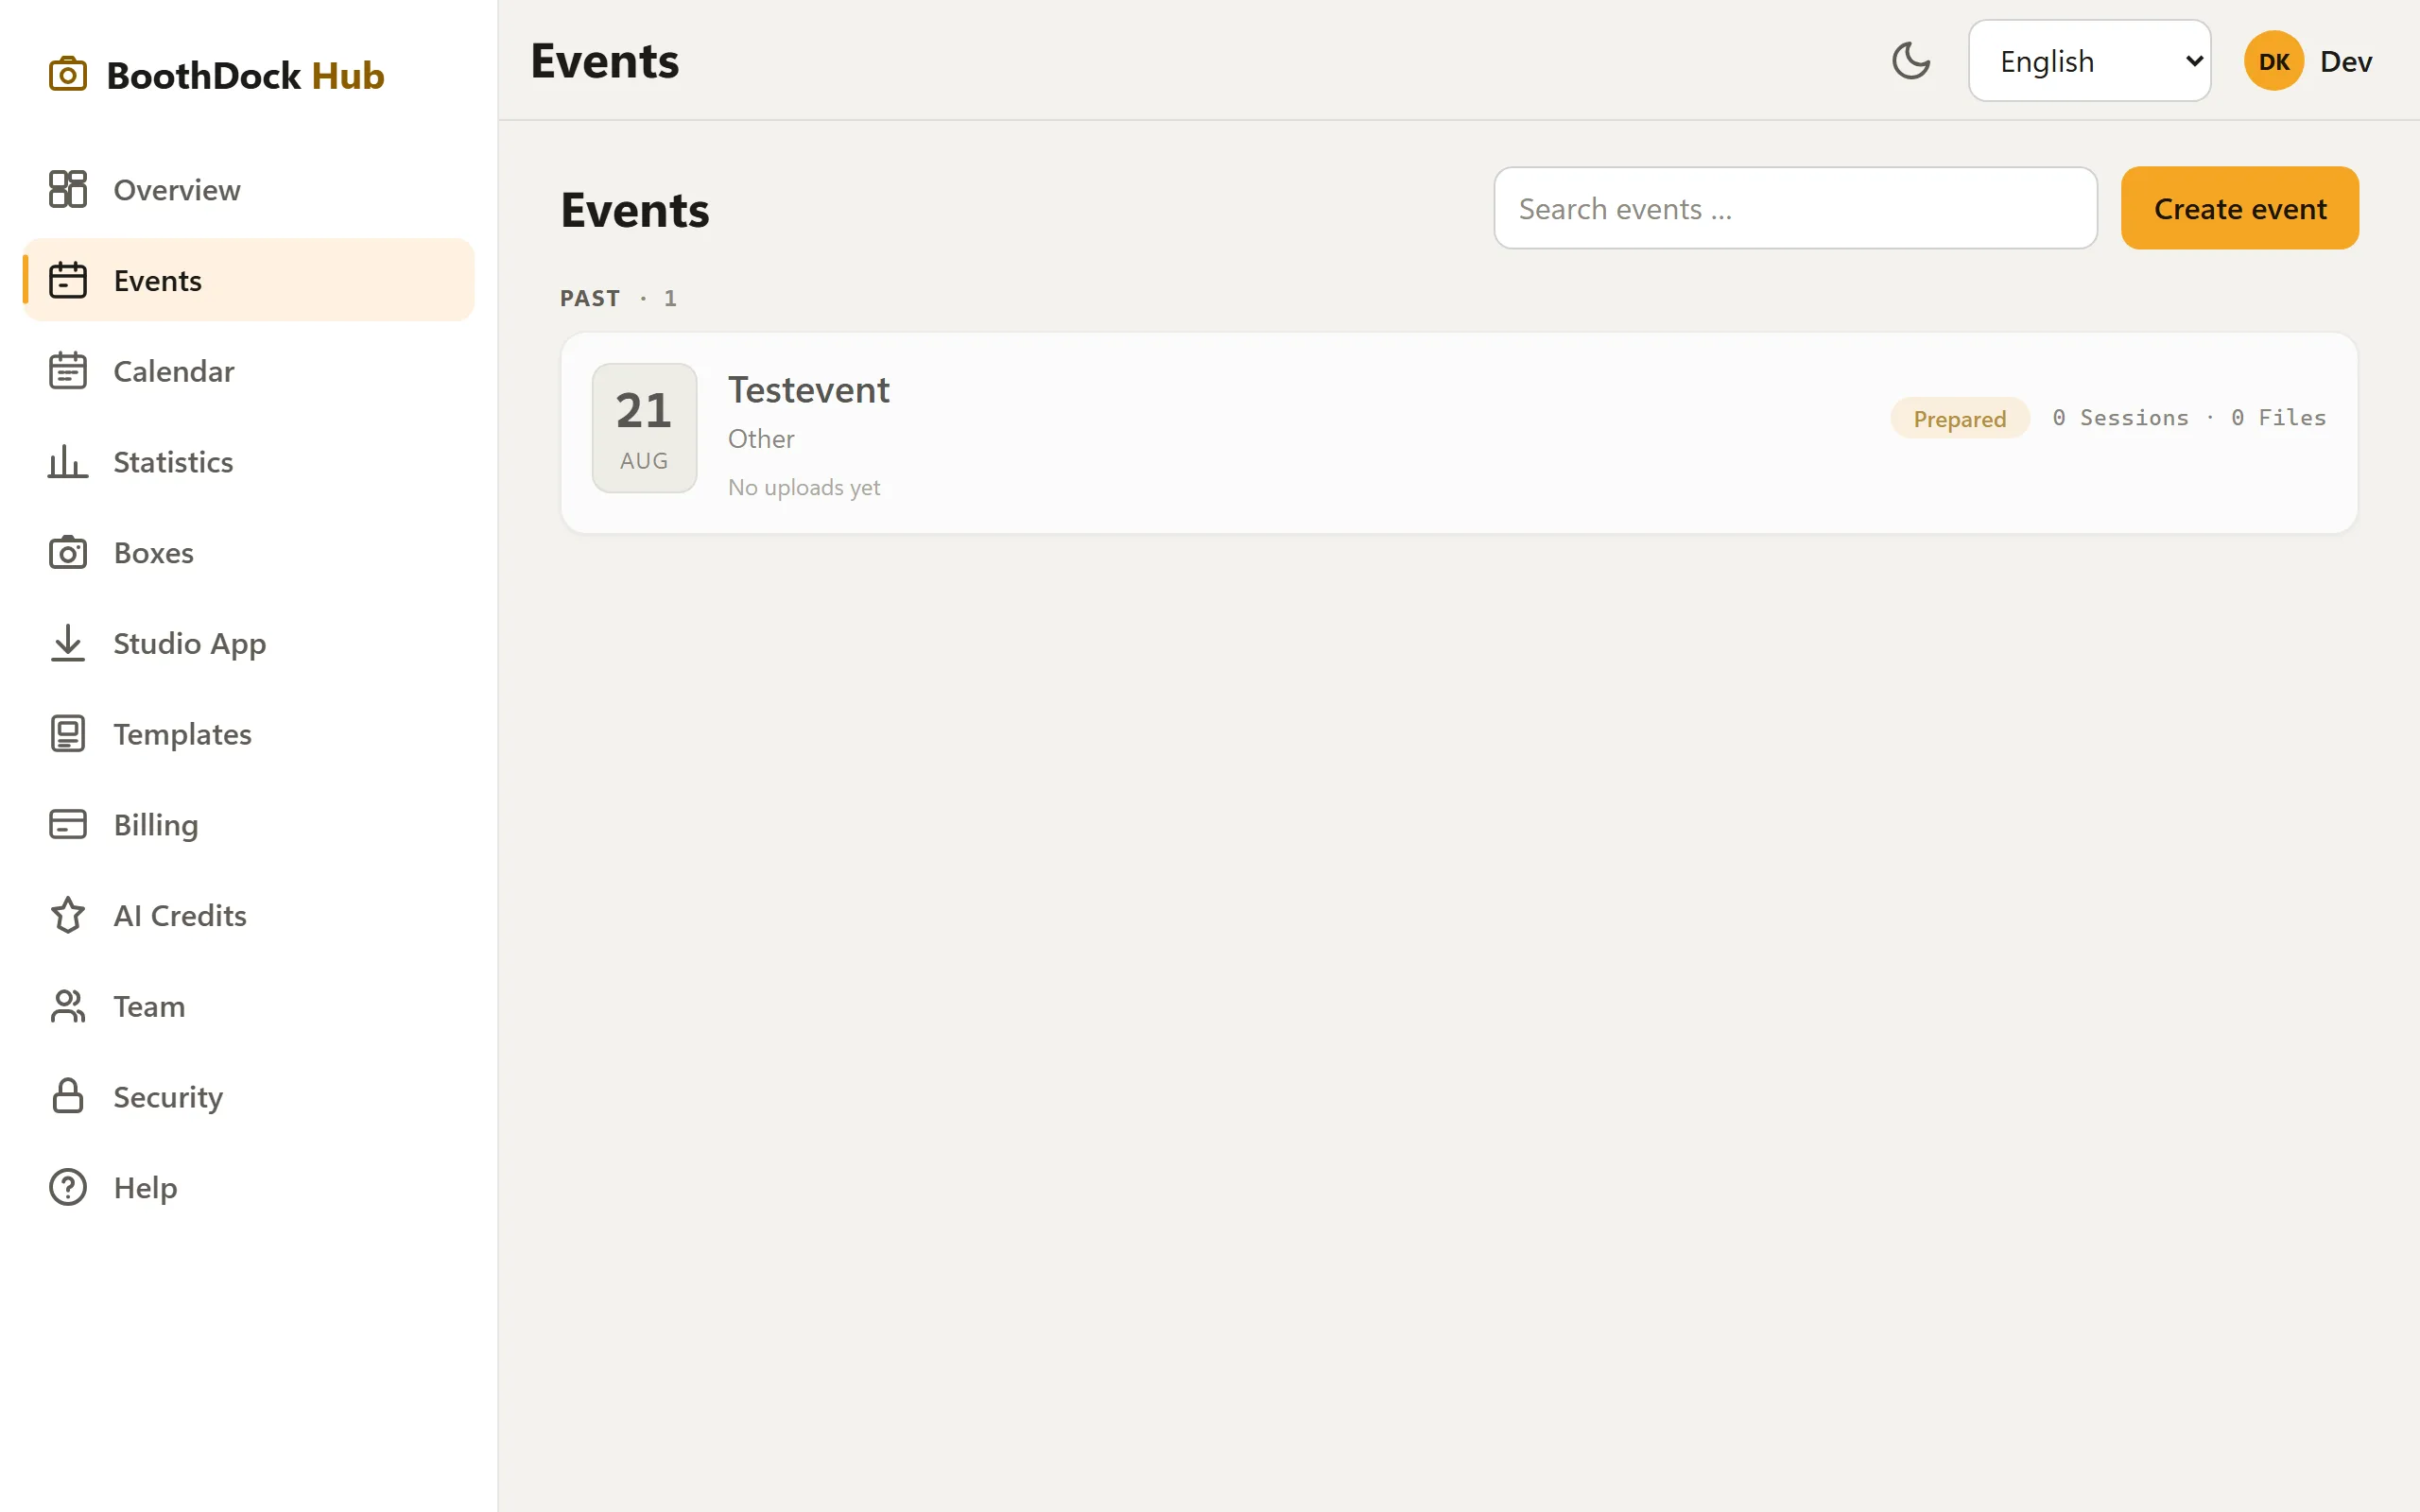
- In the Hub, open Events and click Create event.
- Enter name, date (also an end date for multi-day events) and type (wedding, birthday, corporate party, …).
- Save – the event is created and gets its own code.
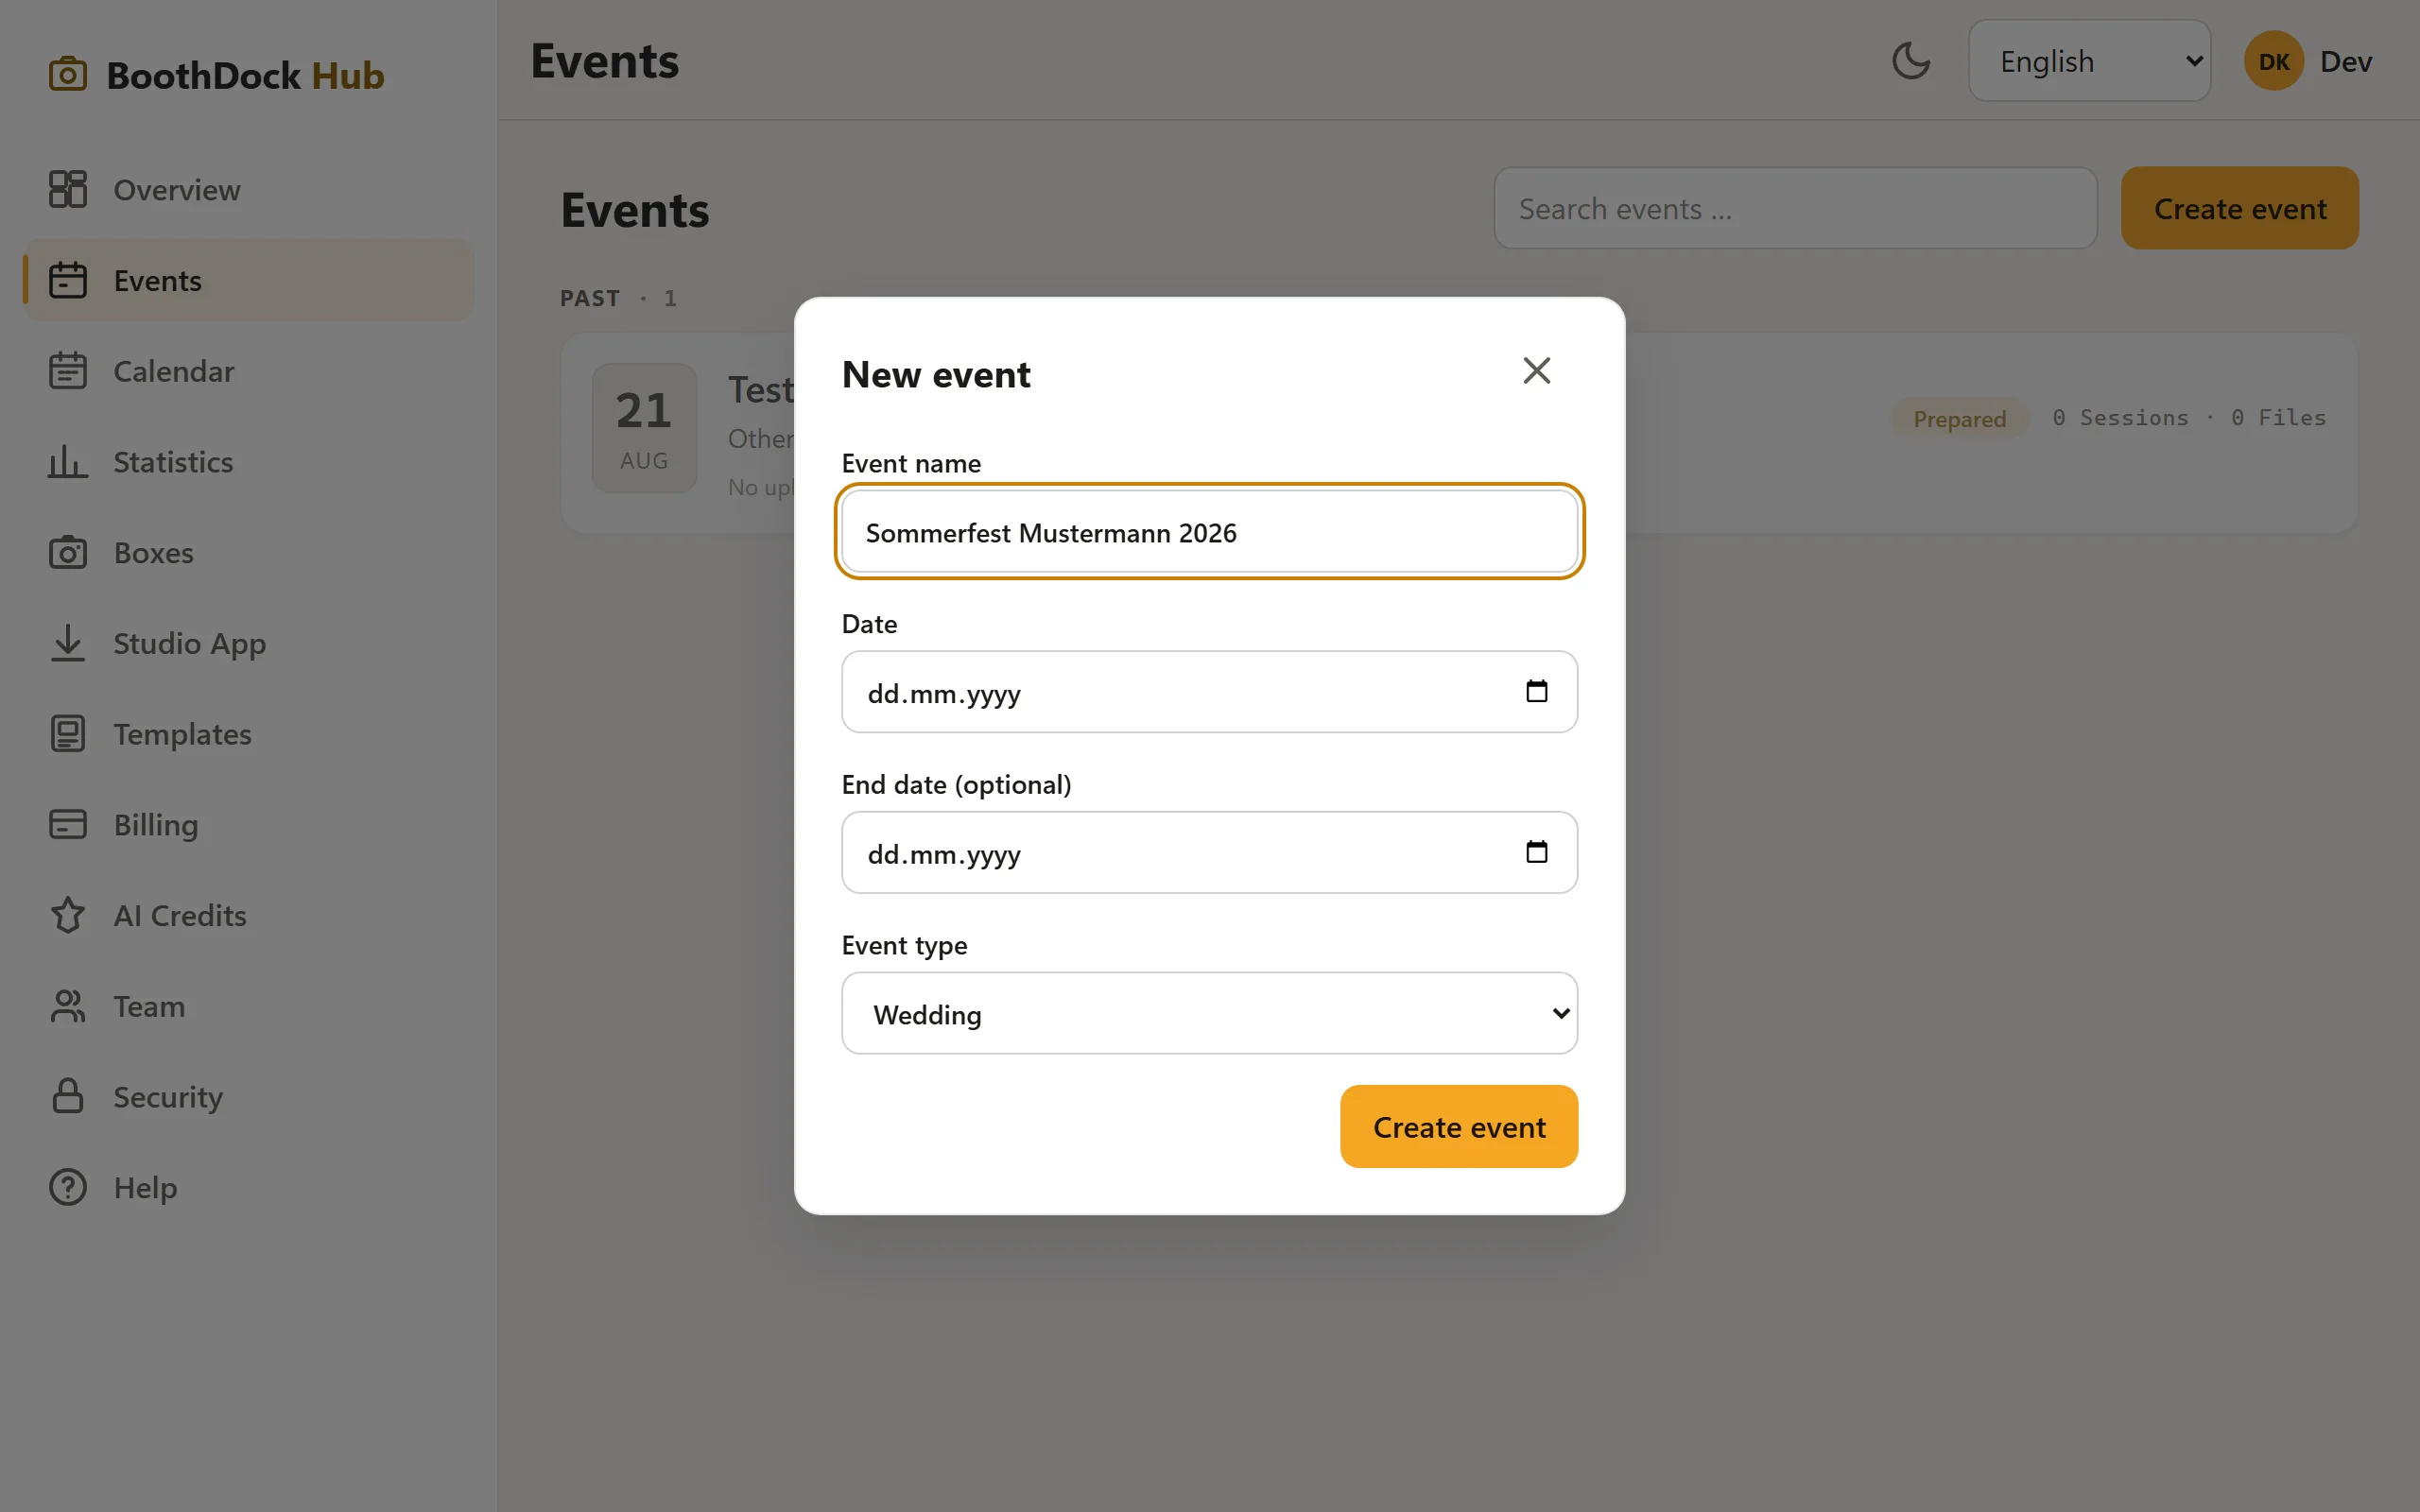
The tabs within an event
| Tab | What it's for |
|---|---|
| Details | Name, display title, customer, date, status |
| Gallery & Guests | Gallery scope, access protection, retention, guest uploads, privacy notice |
| Brand | The gallery in your own look (branding) |
| Boxes | Which boxes may use this event (empty = all) |
| Templates | Which templates are available for selection at the kiosk |
| Customer design | Customers design a template themselves via a link |
Good to know
- Status controls the lifecycle (prepared → active → finished). Finished events remain in the statistics.
- An event created in Studio is automatically pulled up into the Hub on its first upload – you don't need to create it twice.