Before your first photo box can run, you connect it to your account once.
1. Create an account
Register at boothdock.cloud. You'll then land in the Hub – your cockpit.
2. Install BoothDock Studio
- Windows: Download BoothDock Studio (in the Hub under Studio App) and install it on the Windows PC that will control the photo box at the event.
- iPad or iPhone: Get the app BoothDock Studio – Fotobox from the App Store (iPadOS or iOS 17 or later).
On first launch, a wizard guides you through the basic setup.
3. Pair the box
Pairing permanently connects the box to your account:
- The wizard in BoothDock Studio shows a QR code and a pairing code.
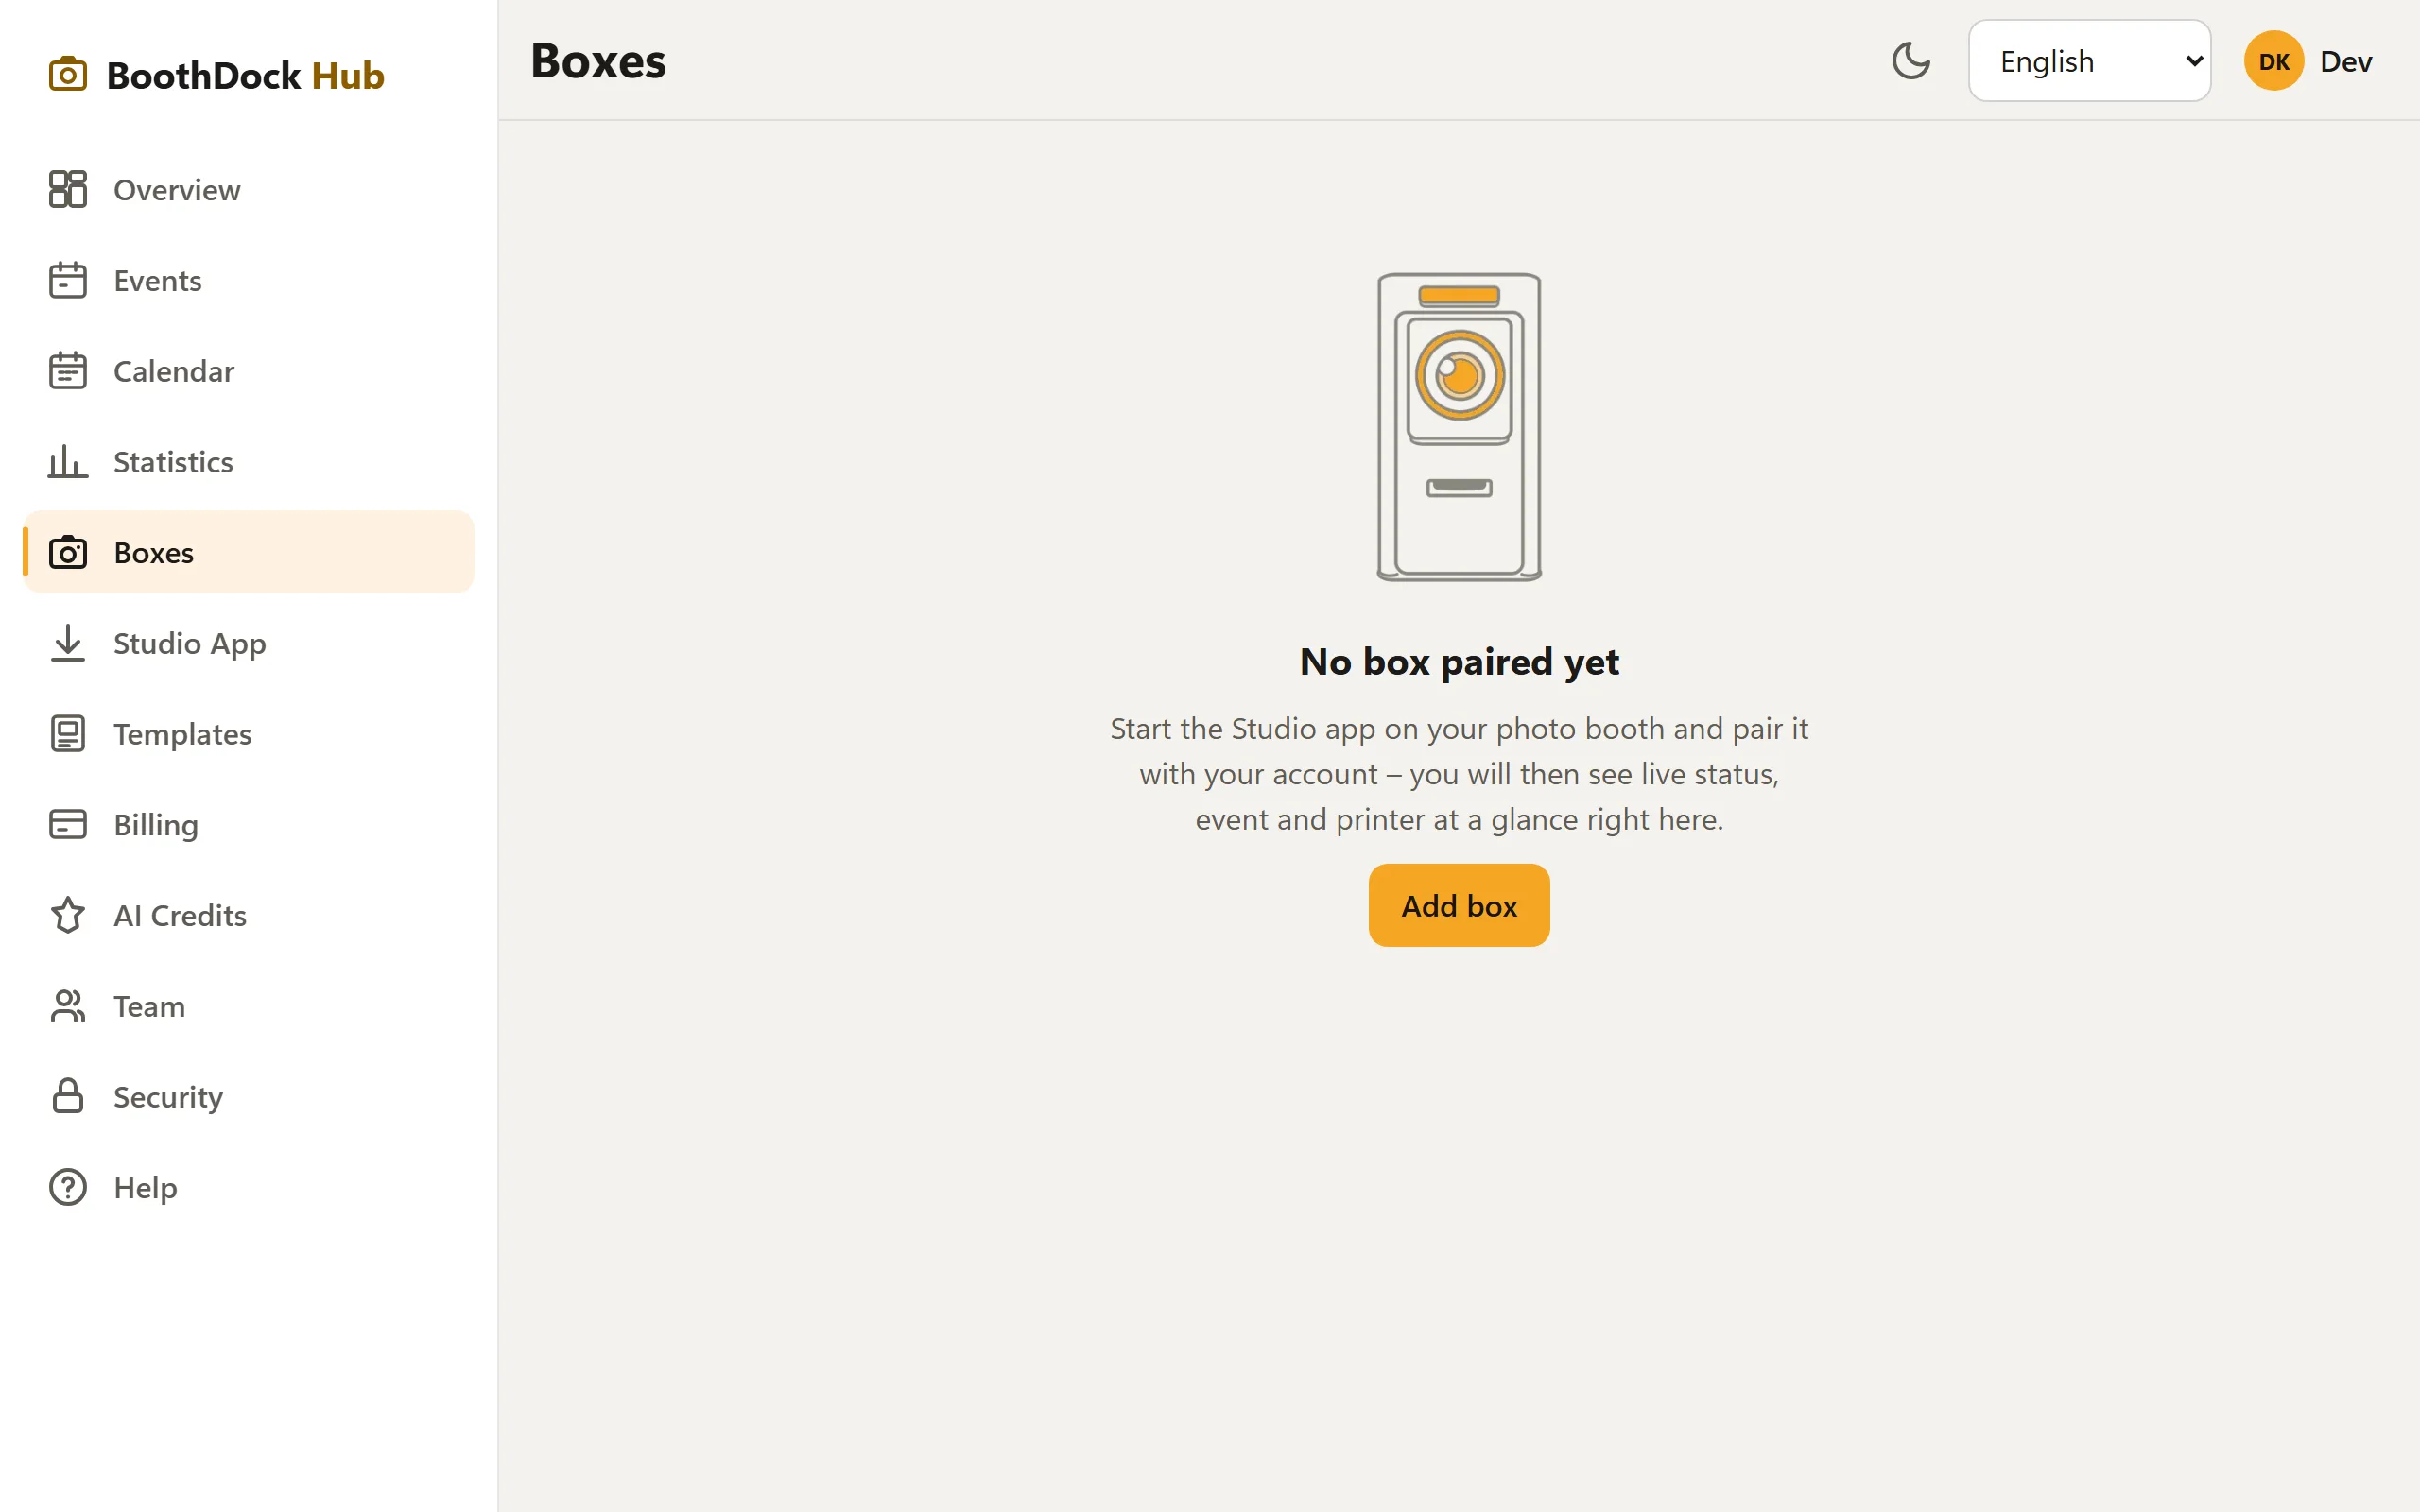
- Scan the QR code with your phone and confirm – or open the Boxes section in the Hub, choose Add box and enter the code.
- The box then appears in the Hub under Boxes – from now on you can see its status there and assign events.
Alternatively, paste an enrollment key (bdk_…) that you created in the Hub under Boxes into BoothDock Studio – the box then pairs itself without a confirmation in the Hub.
A box always belongs to exactly one account. To switch, unpair it and pair it again.
Is it working? Quick check
- In the Hub, Boxes shows the box as online once it has reported in.
- The heartbeat (paper, queue, load) appears automatically every few minutes.