BoothDock Studio can get a camera image three ways – selectable in the admin area under Camera.
Three camera sources
- Webcam – any USB webcam the system detects. Ready straight away, no driver.
- System camera (DSLR/mirrorless) – Nikon, Canon and Sony, all over the USB cable. Real camera quality with live view on the guest screen and full exposure control from the booth.
- Folder watching (watch folder) – external tethering software drops images into a folder; the booth picks up the newest one each time.
Which system cameras work?
154 bodies are supported by name – 61 Nikon, 59 Canon and 34 Sony. All of them run over the USB cable: no camera Wi-Fi for the booth computer to join, and therefore no clash with the venue network.
What matters are the differences that come from the camera, not from BoothDock:
- Canon – every supported EOS body can do the same: live view, shutter, exposure and video recording. New EOS models arrive with Canon's own update.
- Nikon – 51 of the 61 bodies deliver live view, 44 of those also video over the cable. The older bodies (D40 to D200) fire but show no live view – for a photo booth that is a noticeable difference.
- Sony – stills, live view and exposure work on every body that identifies itself over USB. Four models will not hand video out over the cable (ZV-1, ZV-E10, RX100 VII, α7R IV A); there the booth records the live view feed instead. The successors ZV-1F, ZV-1 II and ZV-E10 II record normally.
The full list with every model name is at boothdock.eu/cameras.
Not supported: Fujifilm, Panasonic, Olympus and Pentax bring neither live view nor remote shutter. A GoPro is recognised and can take stills, but delivers no live view.
Choosing the camera
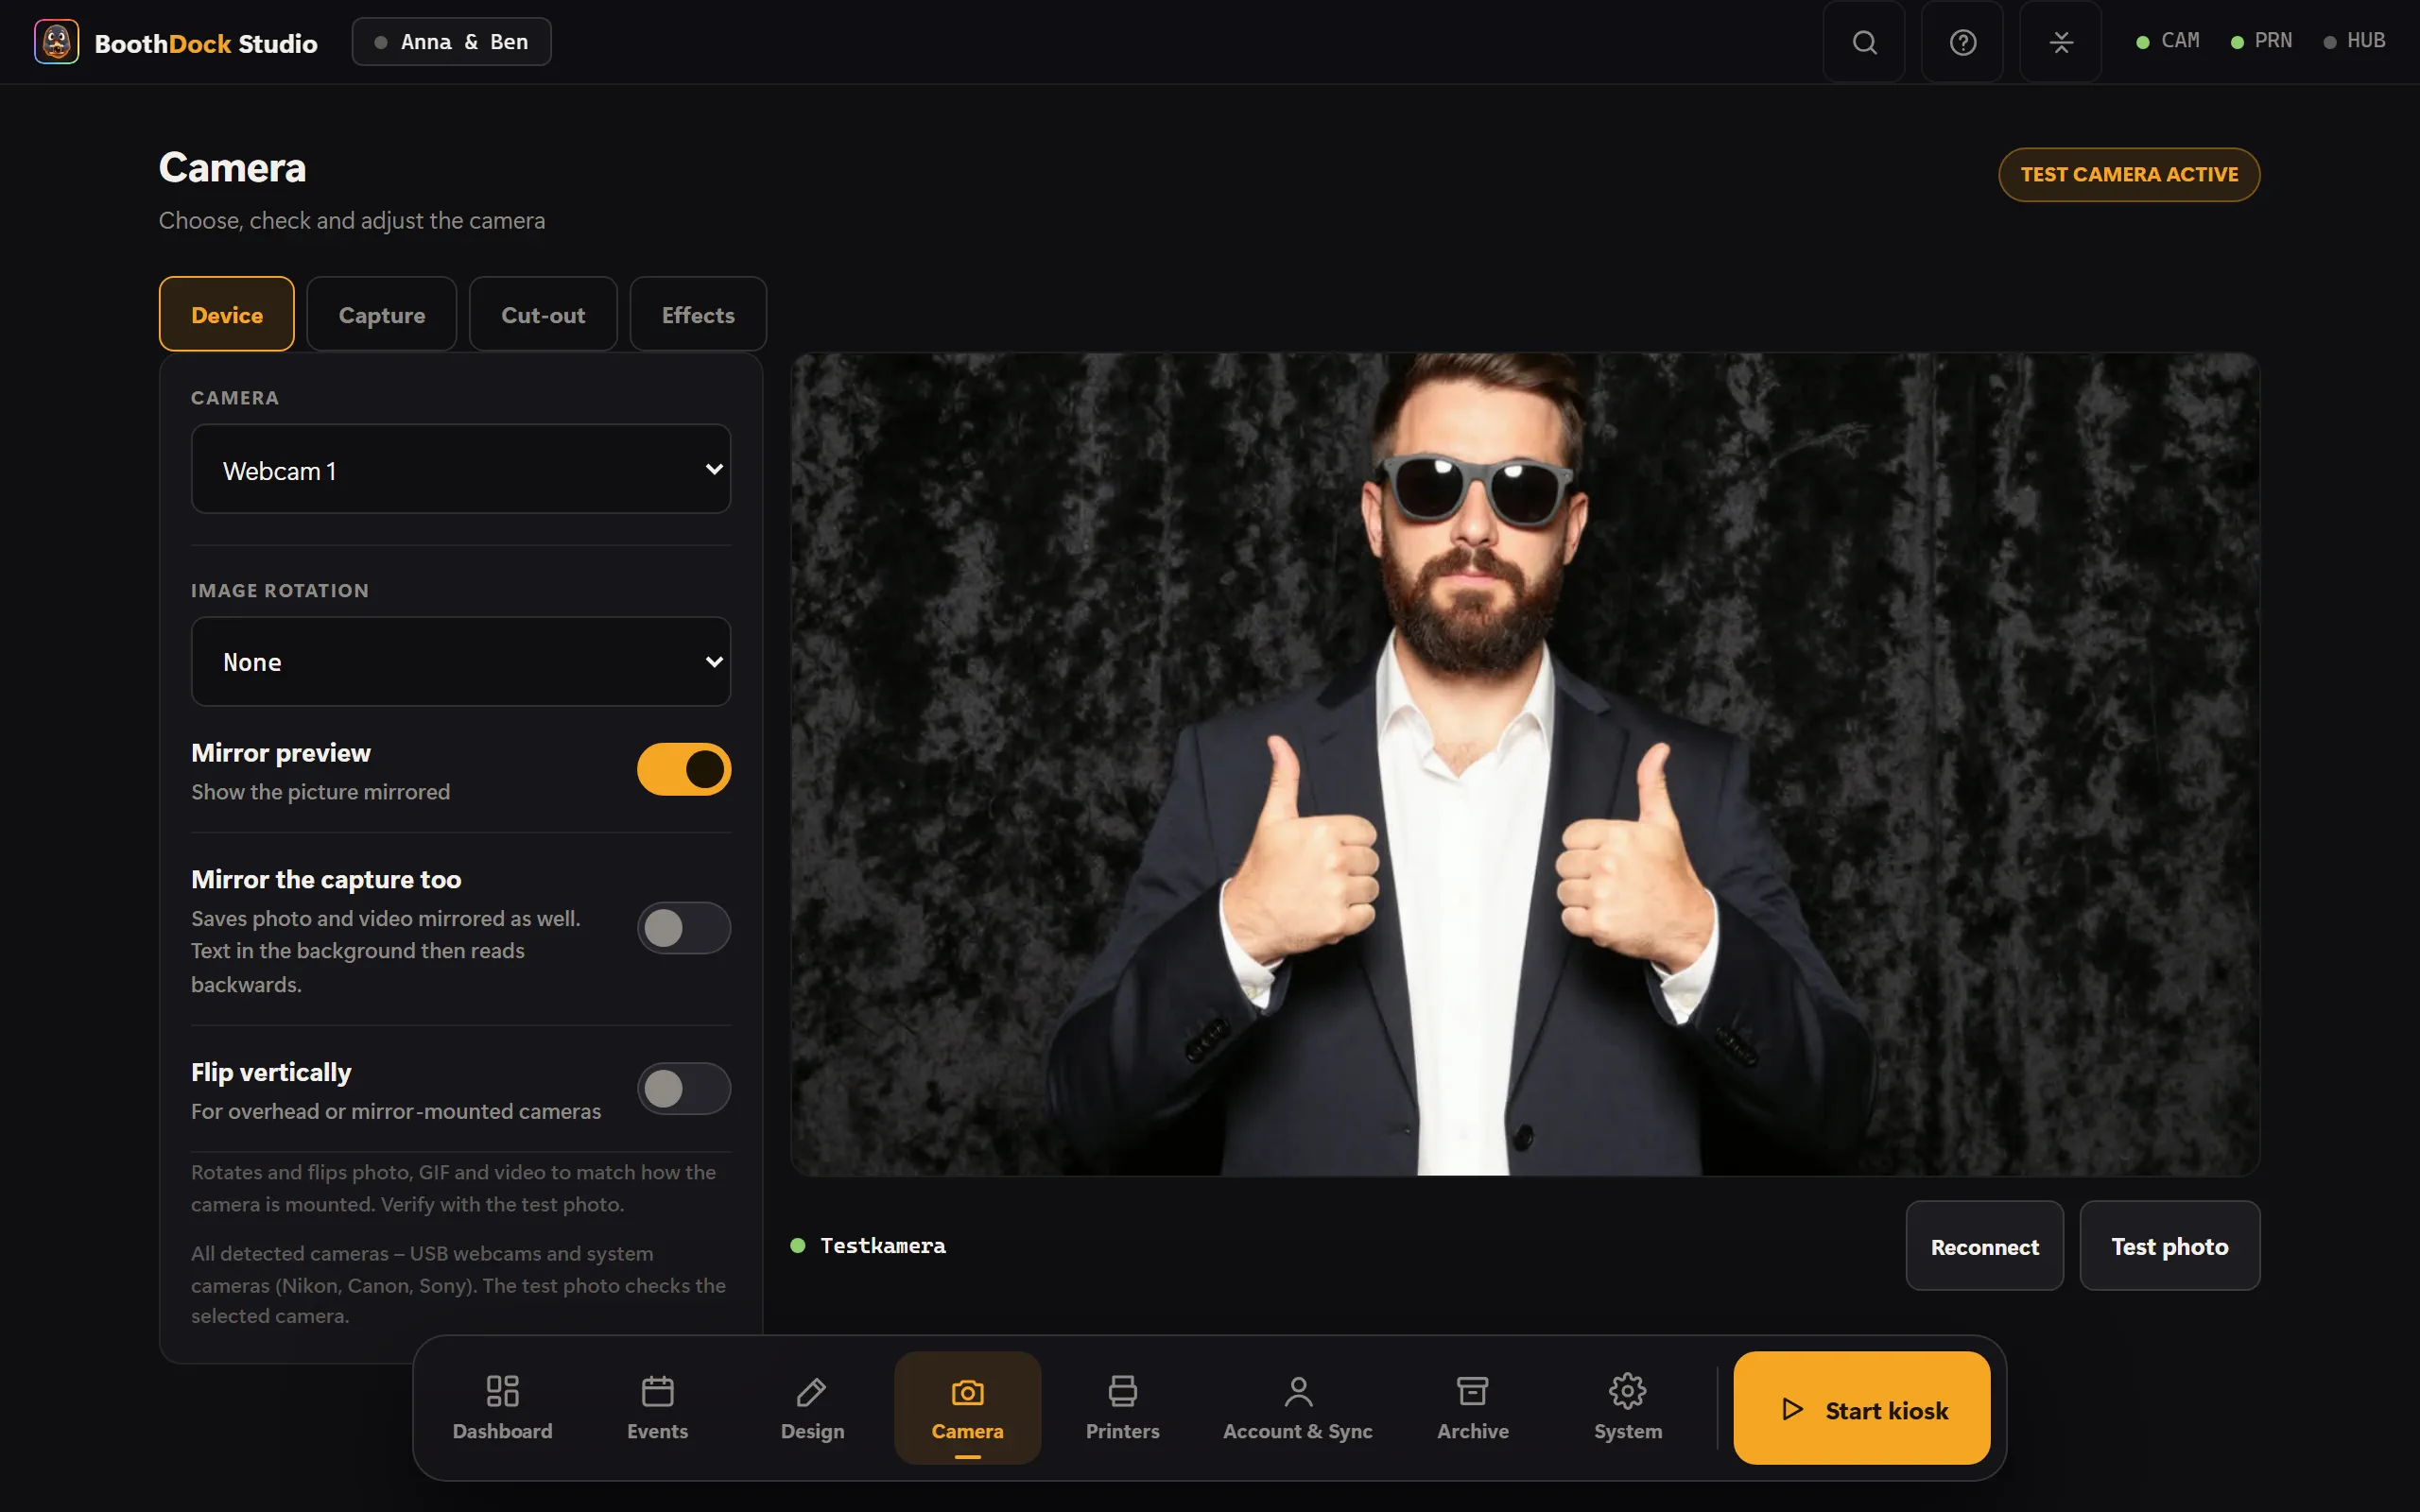
The admin area under Camera shows a device list. Pick your camera, check the live preview and take a test photo.
Hotplug – a camera plugged in later
Plug a camera in after starting, and it is detected automatically – no restart needed. Webcams appear in the list immediately; system cameras within a few seconds. (If one does not show up for once: reopen the camera area briefly.)
Orientation and quality
- Rotation / mirroring is set to match the capture – preview and print show the same thing.
- Photo quality is selectable in steps (downscale with a cap, never upscale) – saves storage and upload time without losing print quality at standard formats.
Next steps
- Capture modes
- Camera not detected? → Troubleshooting: camera