After the capture the guest can still enhance their picture: first a beauty look, then a color look, finally stickers. You decide what they get to see in the admin area under Camera → Effects.
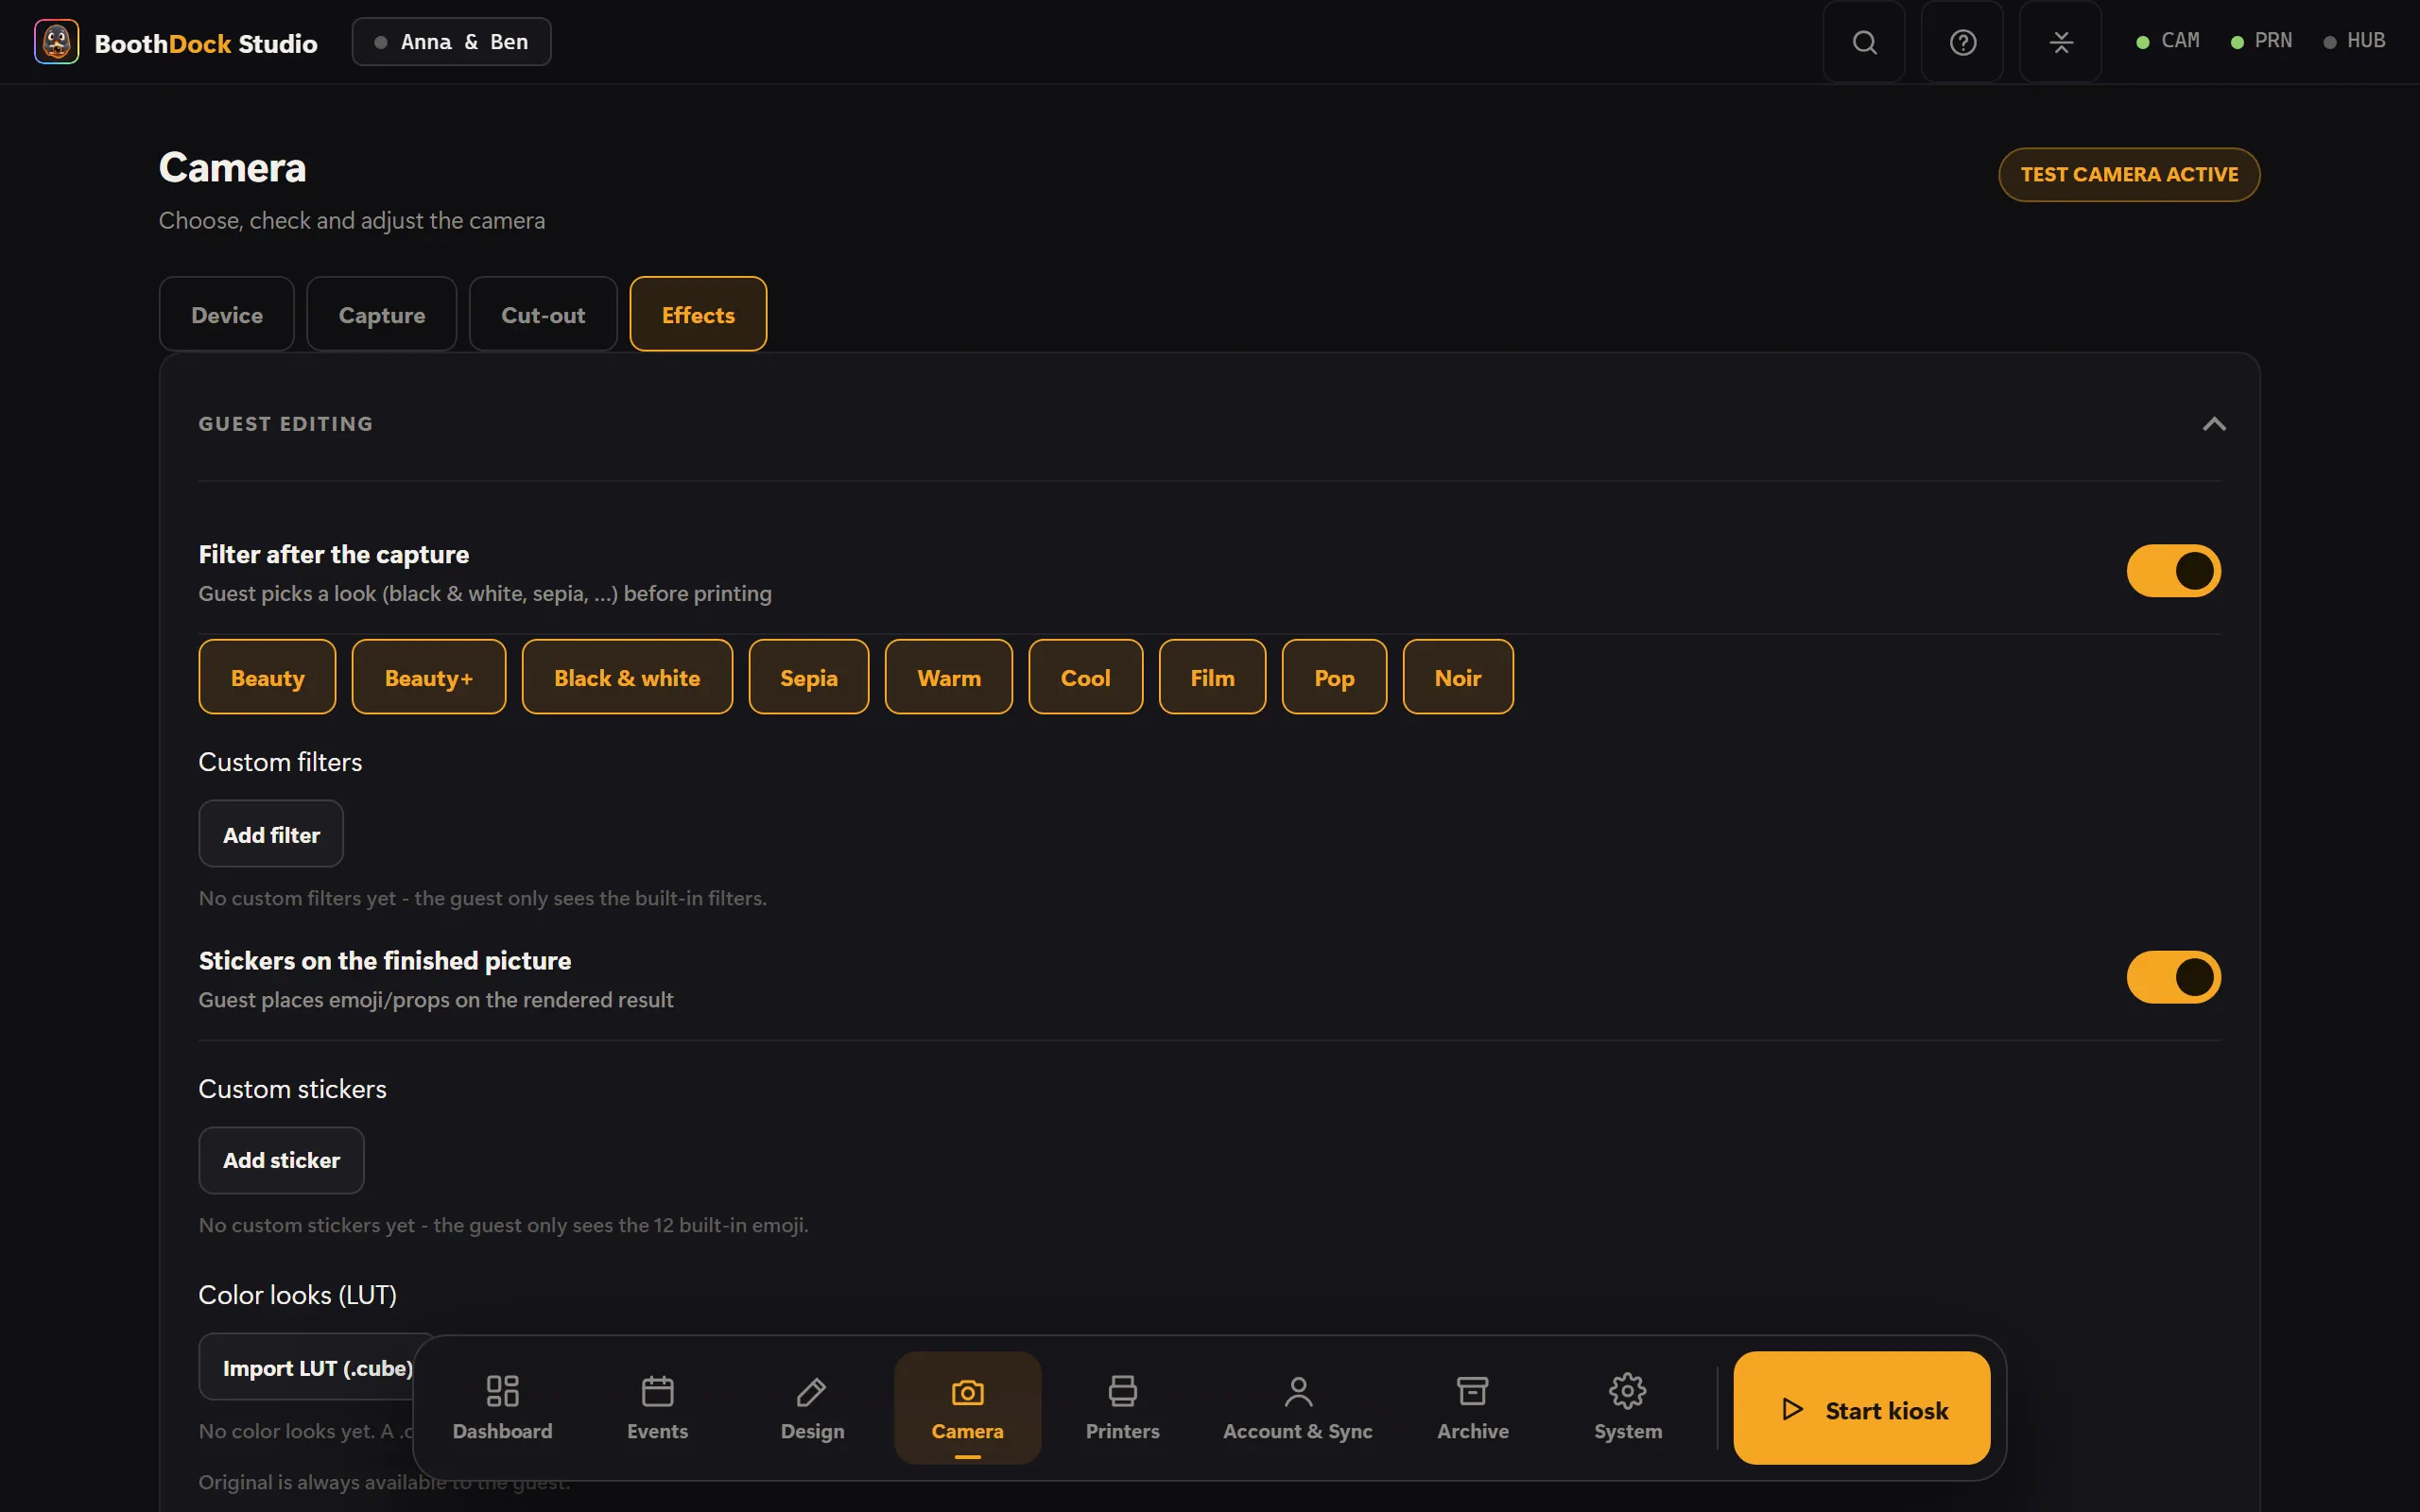
Filter after the capture
With the Filter after the capture switch the guest gets two short steps after the photos:
- Beauty – Off, Beauty (a little brighter, softer contrast, slightly warmer) or Beauty+ (the skin is also gently smoothed, eyes and edges stay sharp).
- Look – Original is always available, plus the looks you enable: Black & white, Sepia, Warm, Cool, Film, Pop and Noir.
Both steps stack: first beauty, then the look on top. They apply to photo, GIF and boomerang. Video, 360° and AI images are not recolored.
Custom filters
Under Custom filters you build a look from sliders: brightness, contrast, saturation, hue and grayscale. Enabled custom filters appear in addition to the built-in ones.
Color looks (LUT)
If you already have your own visual style – from your photo editing or as a purchased LUT pack – simply bring it along:
- Under Color looks (LUT), tap Import LUT (.cube) and choose the file.
- The box checks the file. 3D-LUTs with 2 to 65 grid points per axis and at most 20 MB are allowed. If something is wrong, the reason is shown there – for example that the number of color lines does not match the size.
- The look appears as a tile with a sample image. You can rename, disable or delete it.
Enabled color looks are offered to the guest in the look selection. The preview there is calculated exactly like the finished picture – what the guest sees is what they get.
The calculation runs on the box's processor, spread across all cores. No graphics card is needed. On a computer with eight cores a 24-megapixel photo is done in just over half a second; on weaker computers it takes correspondingly longer.
Color looks are available even when Filter after the capture is off: for the 360° clip you pick a look under Design → Video layouts → 360° video – there it only colors the camera image; overlay, intro and outro stay as they are. More on this in 360° / Slow motion. In BoothDock Studio 1.4.0 and earlier, the choice is still under Camera → Capture → 360°.
A tip: a strong look can also make photos worse, especially in low light. Try it out before the event with a few test photos under the real lighting.
Stickers
With Stickers on the finished picture the guest places emojis or custom stickers on their result. Twelve emojis are always included; under Custom stickers you upload your own images – ideally PNG with a transparent background – and enable or disable them.